Episode 3: The one where I skip way ahead and start finishing a railing
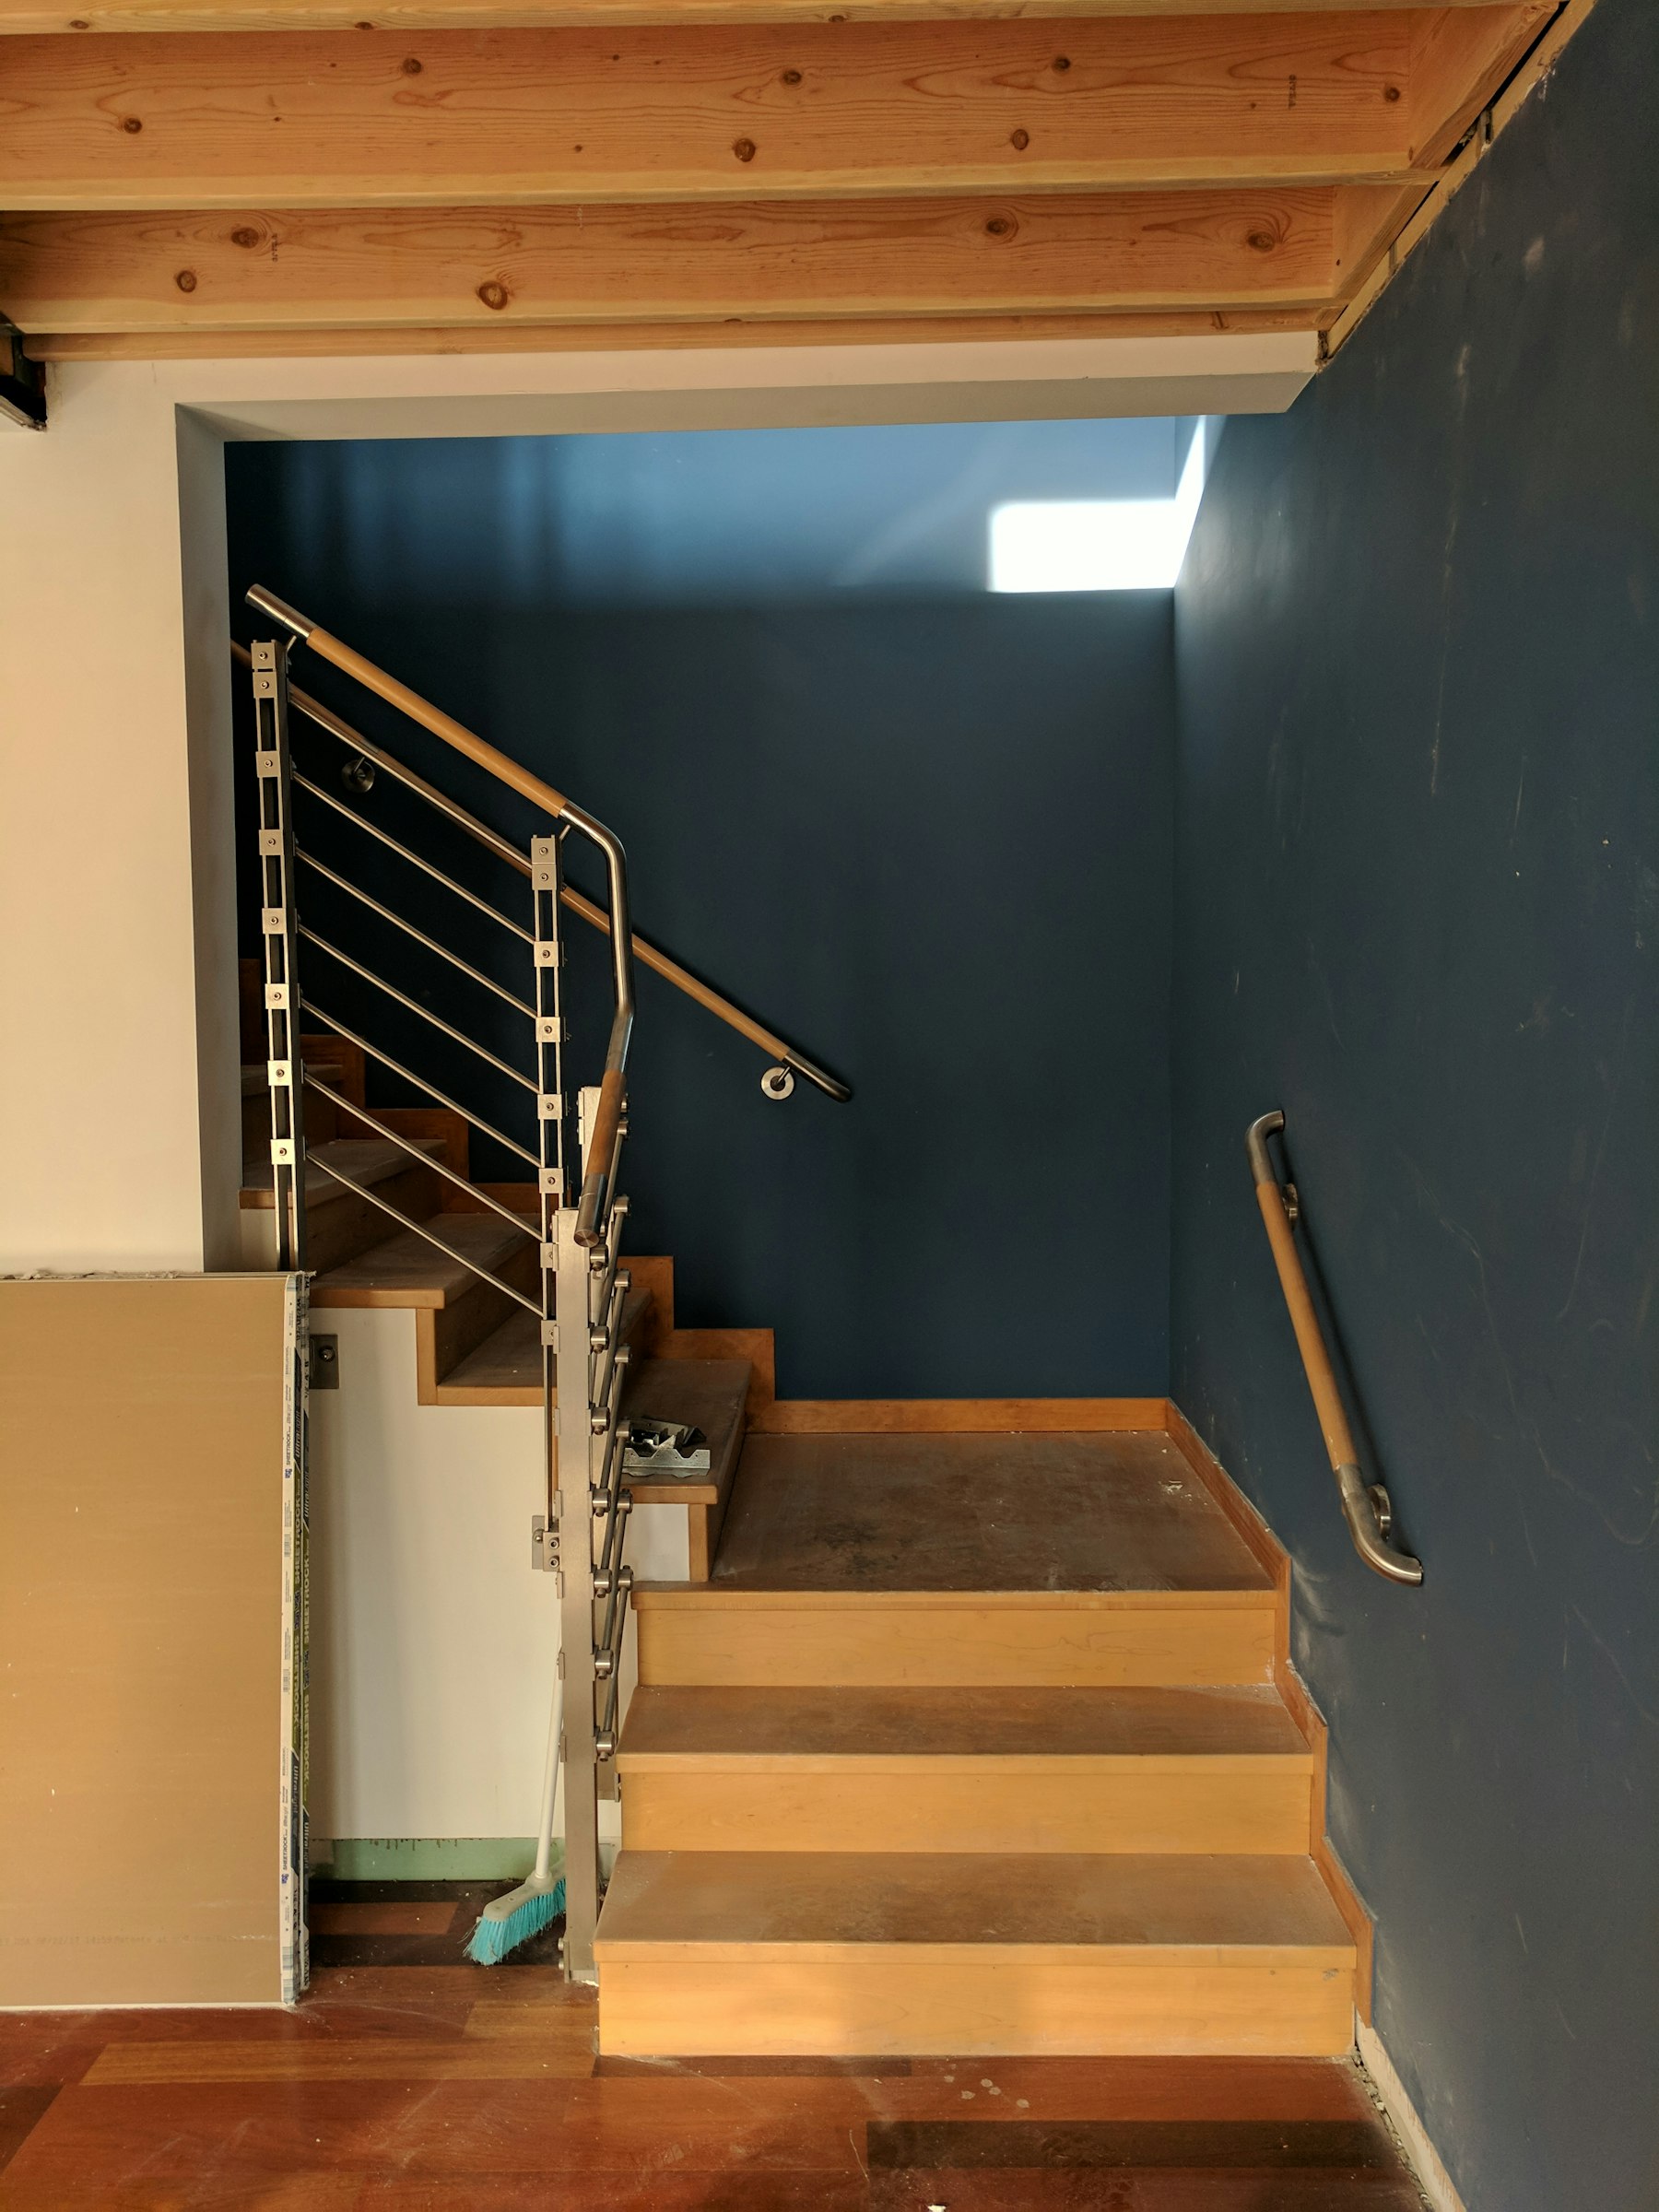
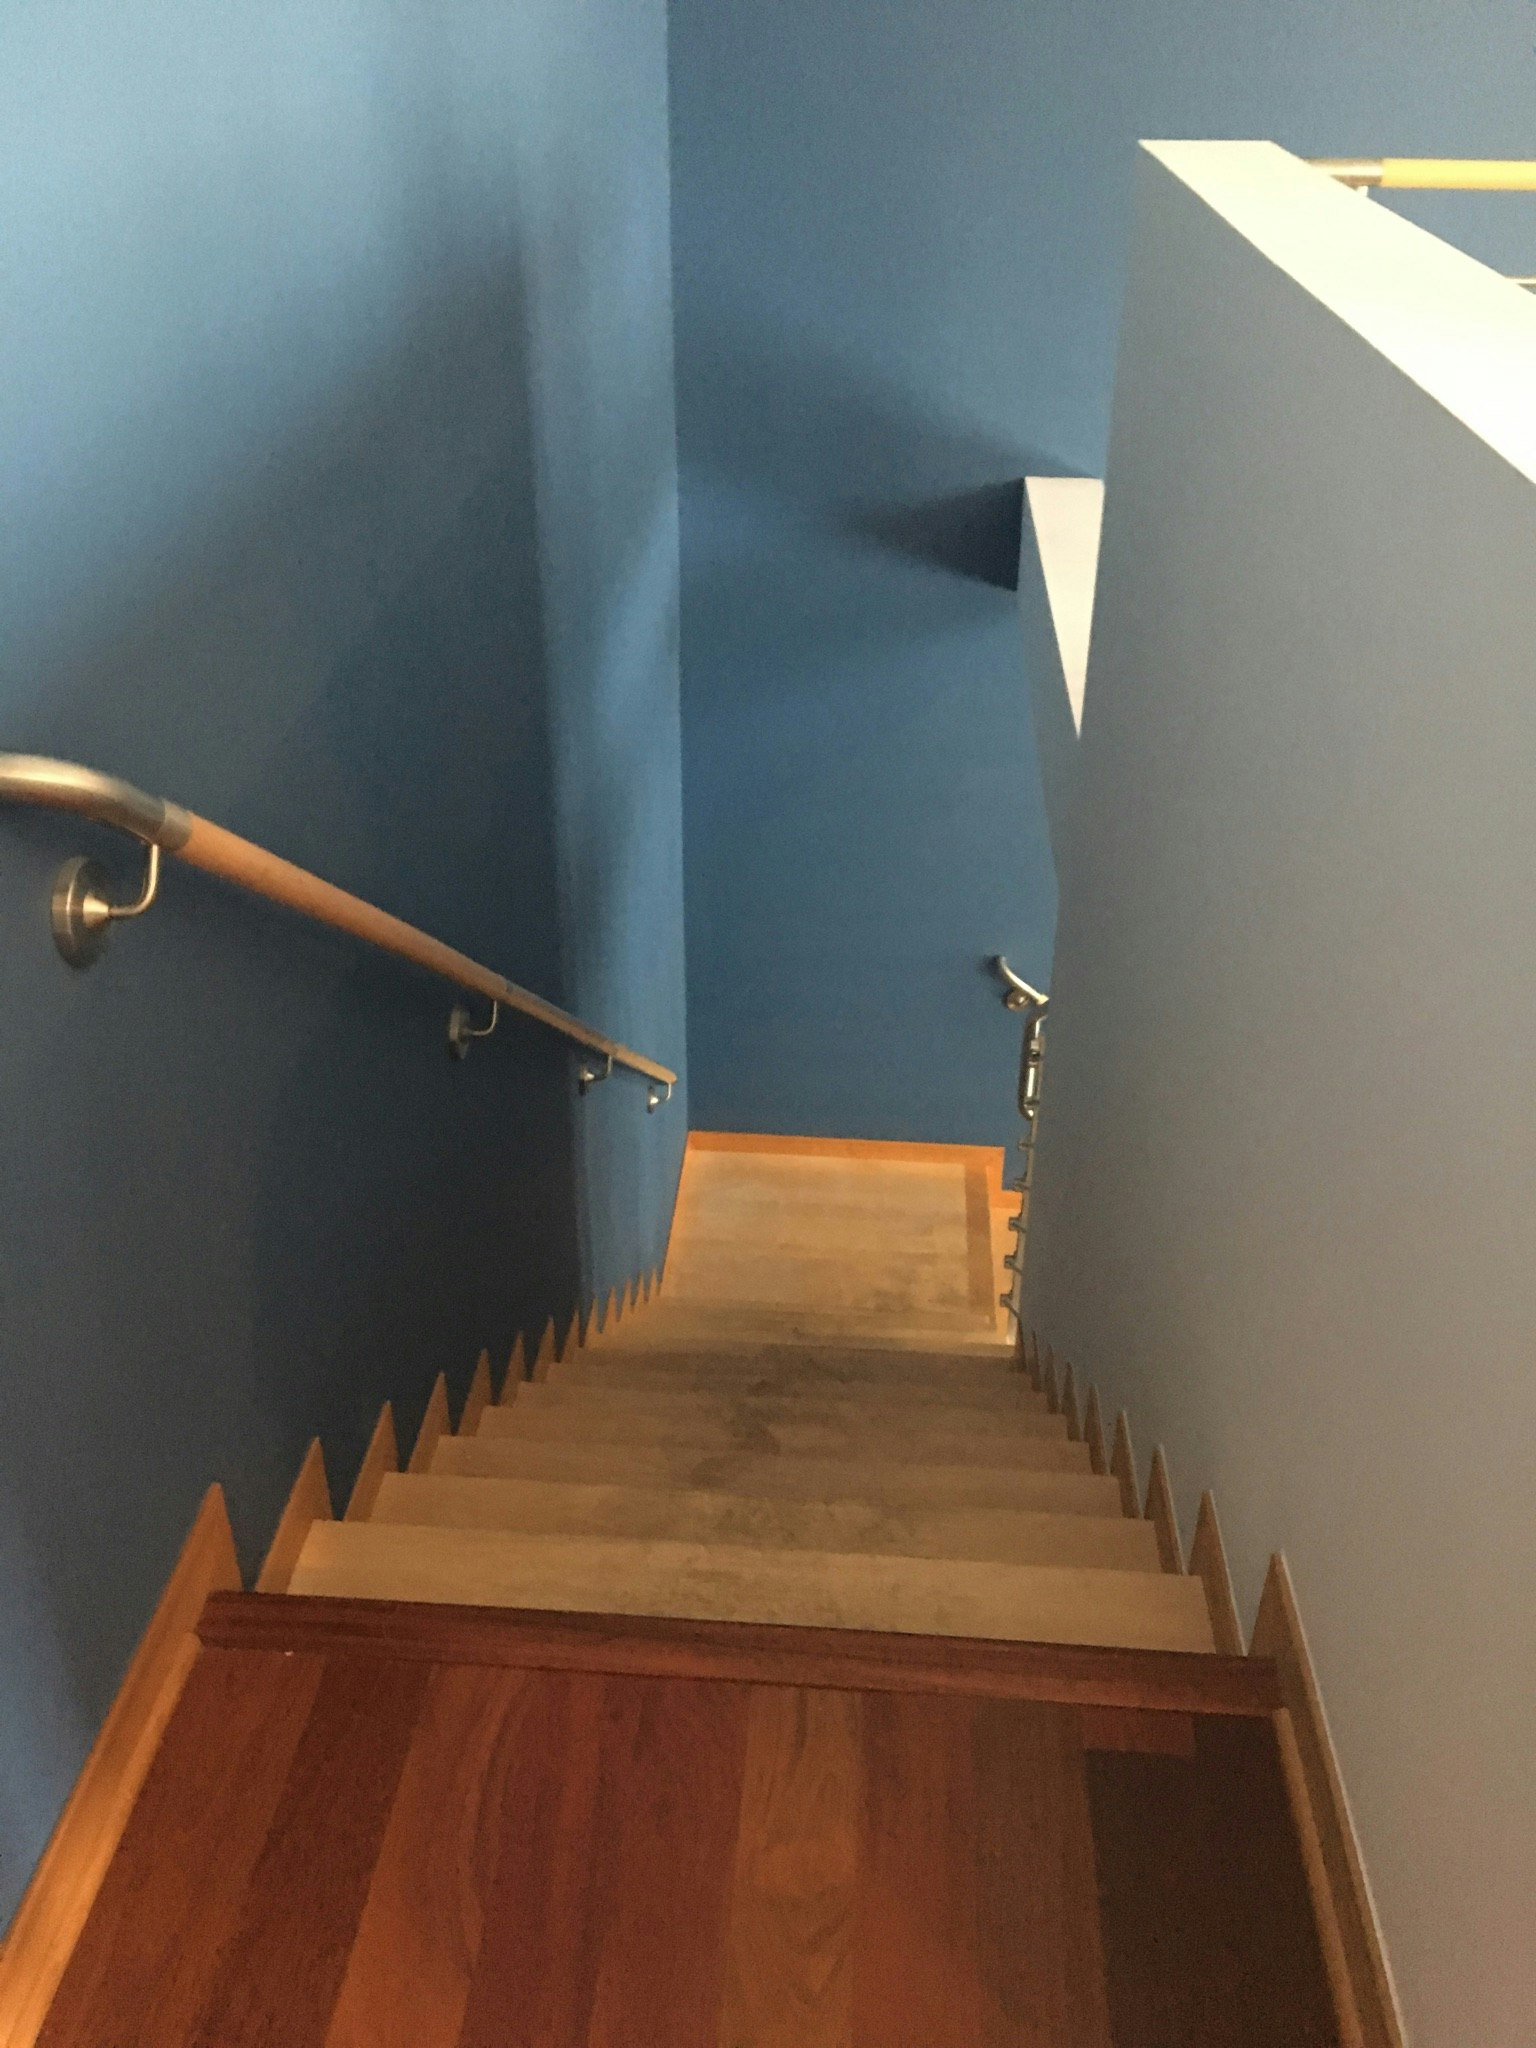
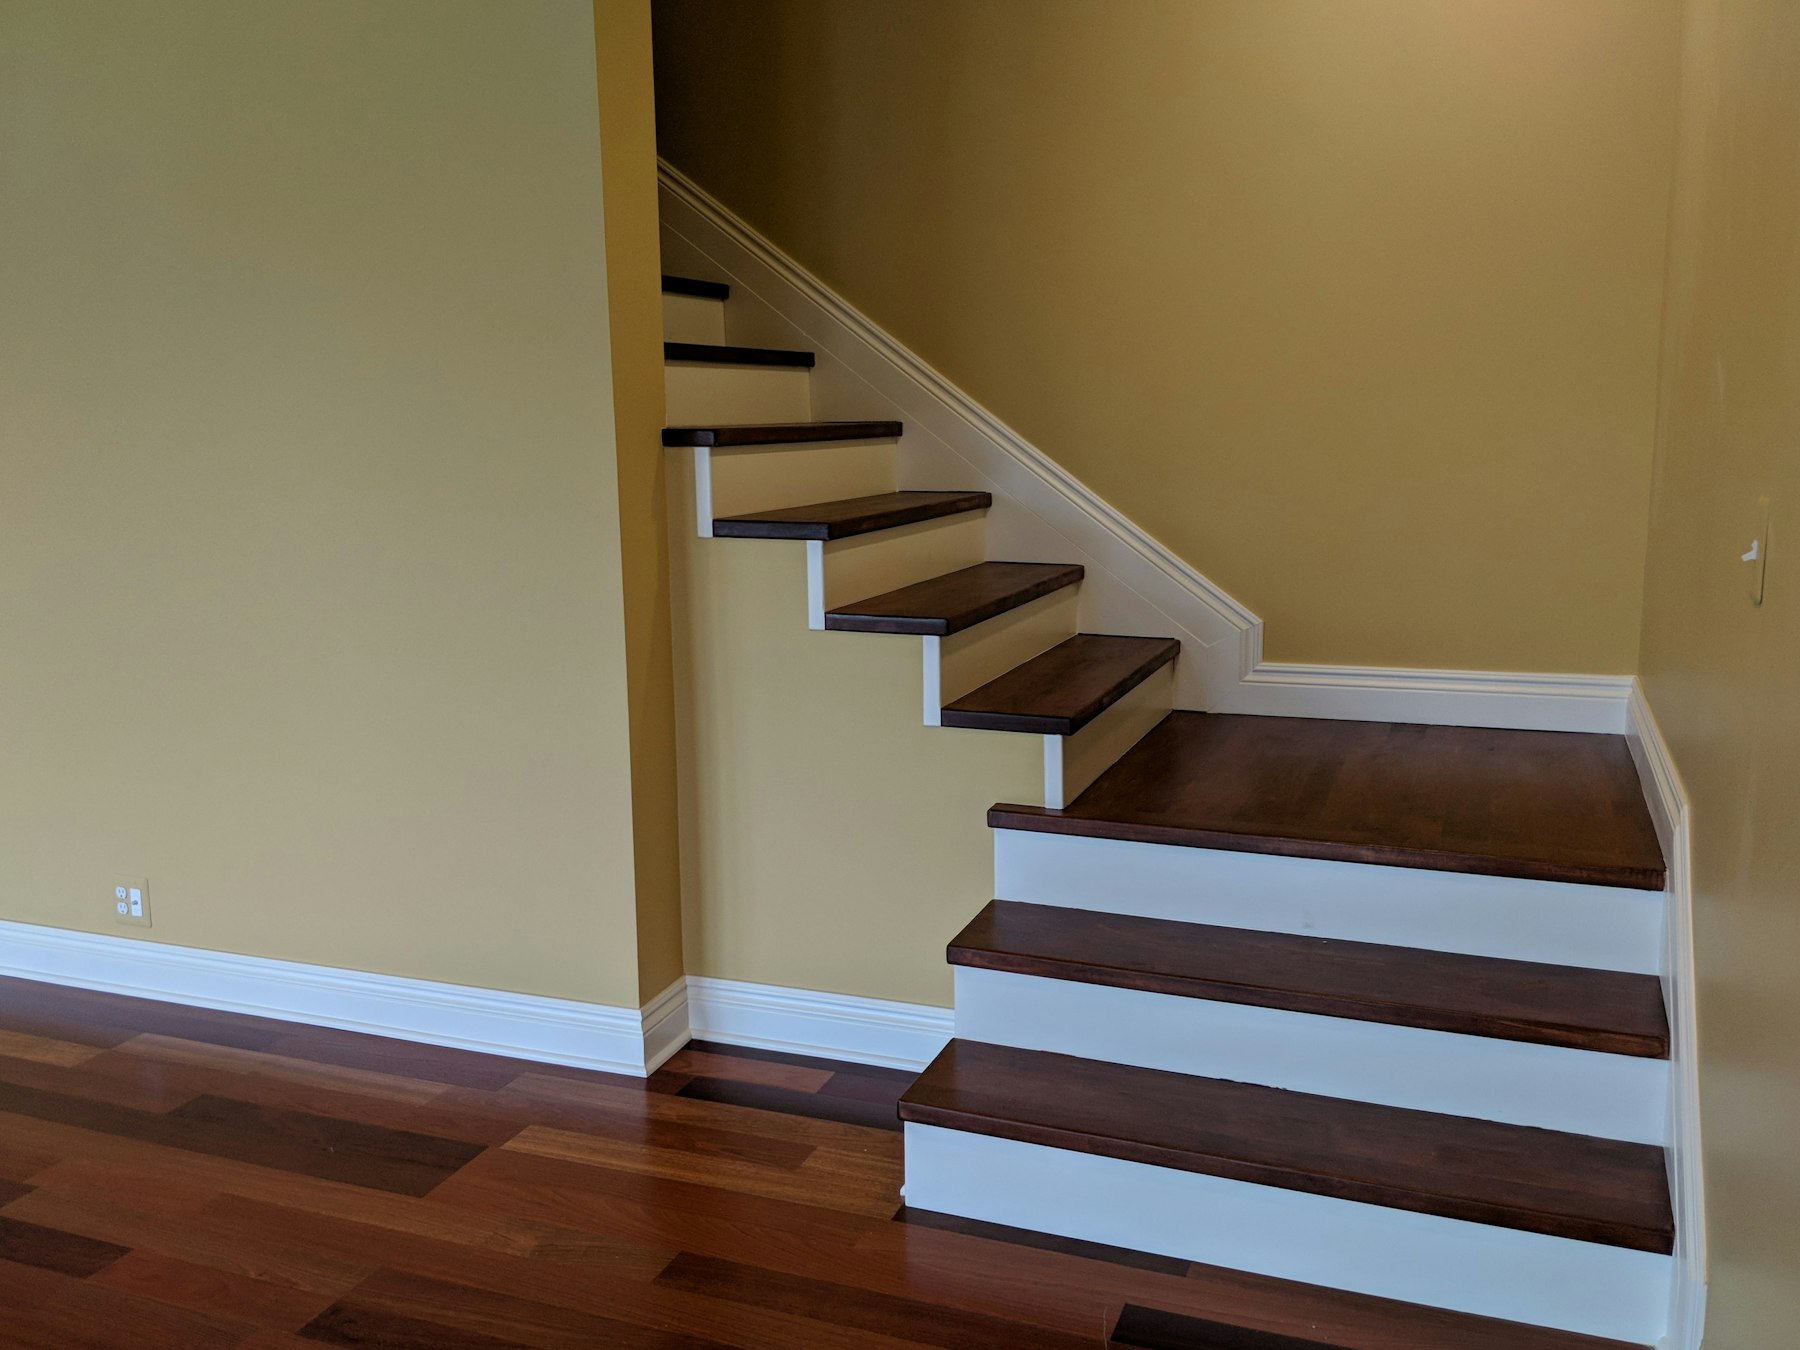
When Erin and I remodeled our condo from a loft into a two bedroom, we tore out the modern stainless steel railings that didn’t match our new traditional aesthetic. We also had our painter paint the risers the same color as our trim, replaced the stair skirt with one that matched our new baseboards, and hired someone to refinish the treads to match the cherry floors in the rest of the house.
All of this transformed our stairs from looking like this:
to looking like this:
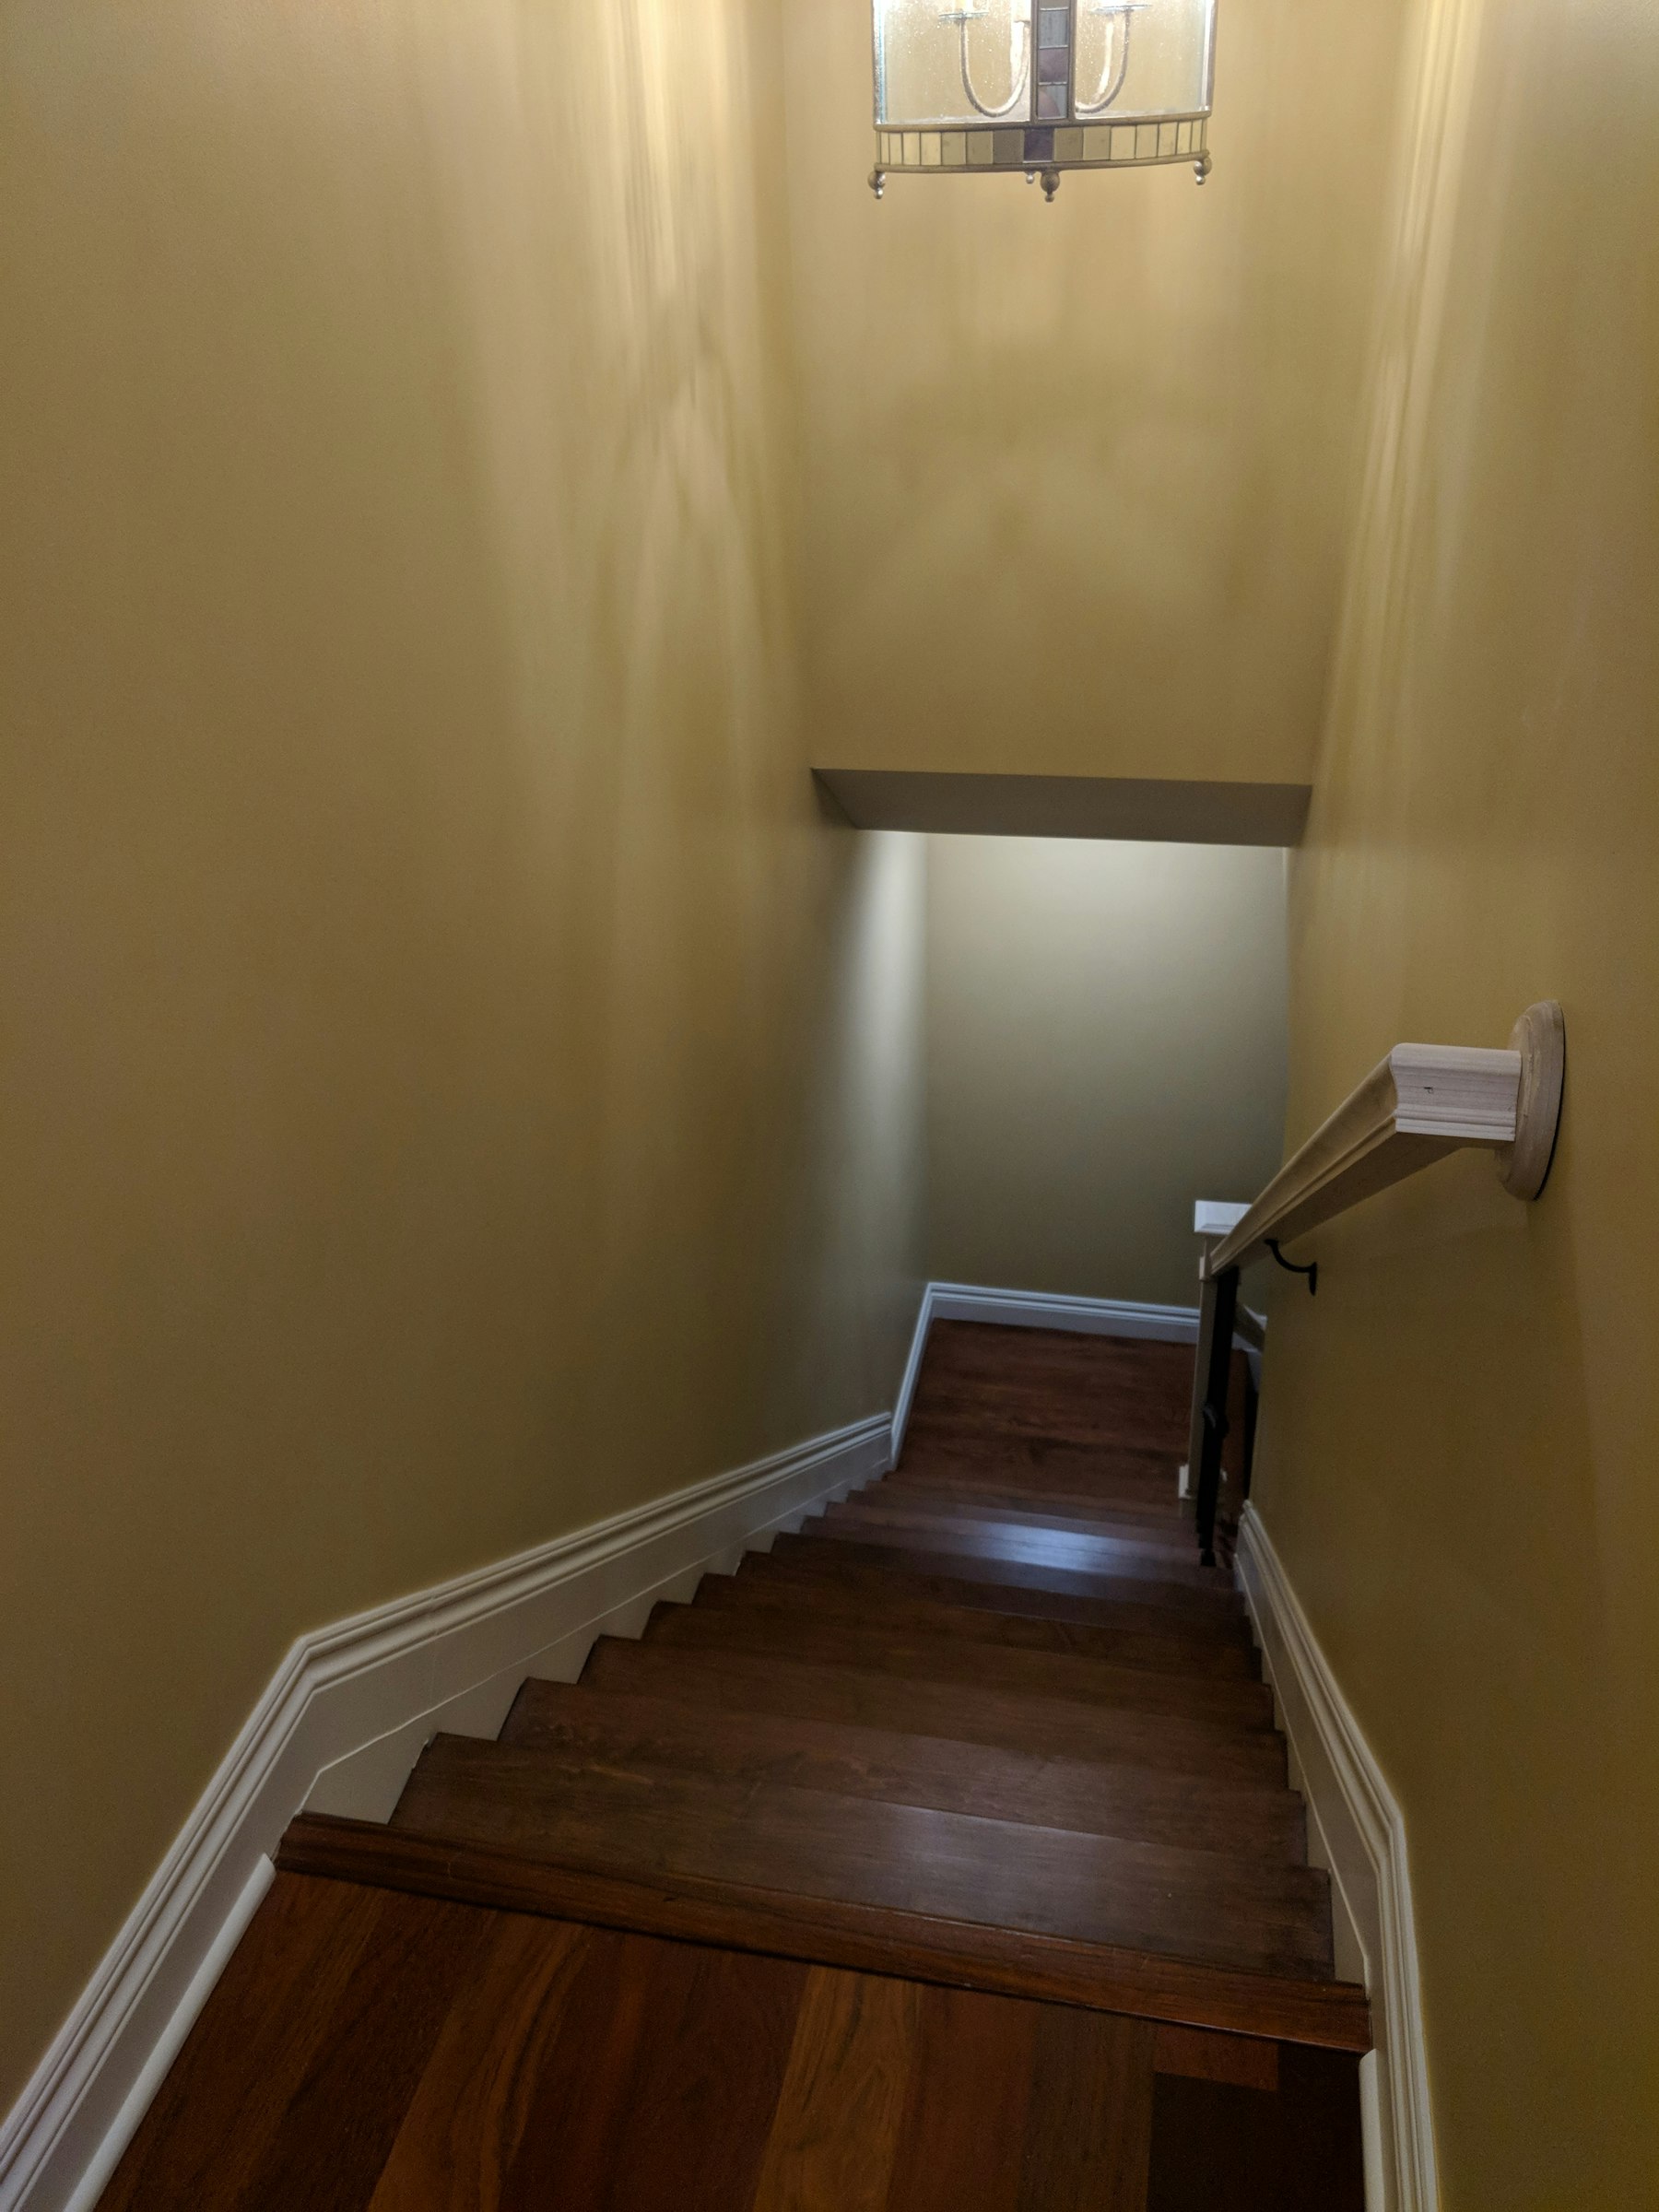
However, we never replaced the railing. After watching a few too many guests nervously butt-scoot down the stairs, we decided it was time to do so.
I wussed out on installing the banister myself and instead hired Macomb Stairs & Millwork to do it. Within a month, they were able to fit us in. It took them about two hours and a lunch break to install the banister. Impressive.
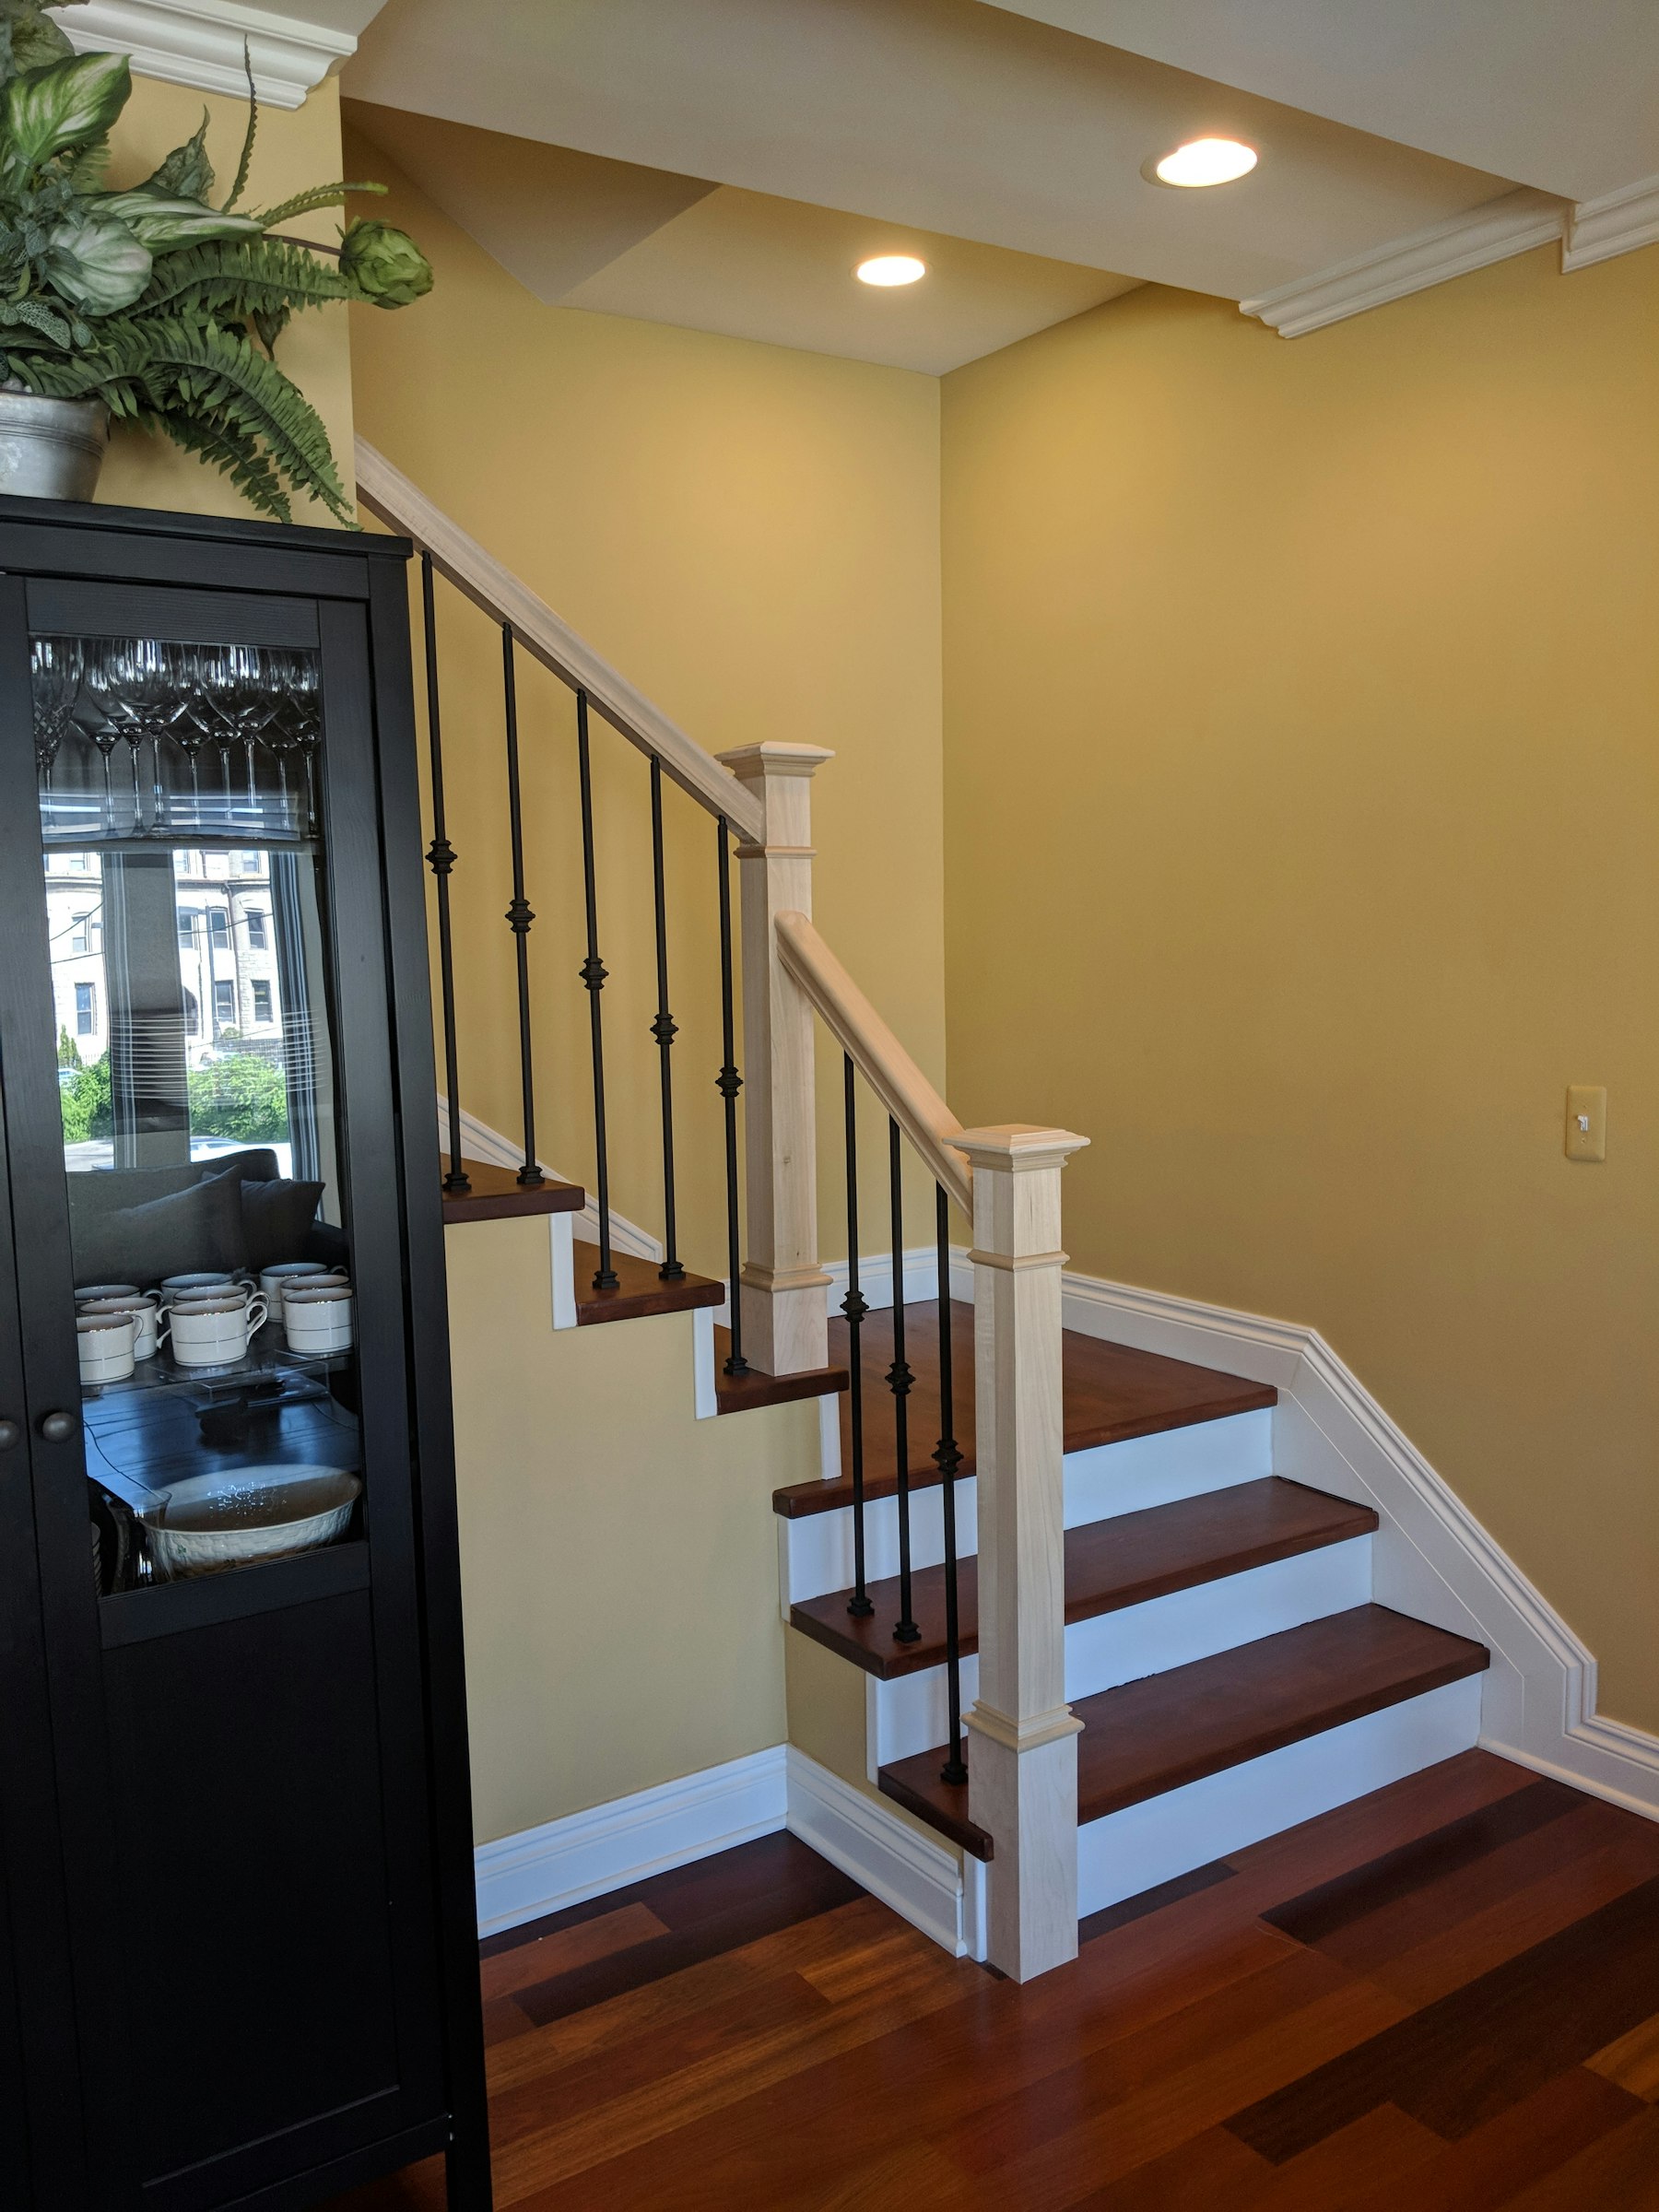
Erin and I are thrilled with how it came out.
Unfortunately, Macomb Stair doesn’t paint or stain banisters. We want to stain the handrail to match the floor but paint the newels (the thick vertical posts) white to match our trim. This would require two different contractors (a painter and a wood finisher) and would likely be close to as expensive as the banister itself. Because of this, I’m going to tackle it myself.
I started by going to Woodcraft in Canton, where the clerk recommended using a gel stain on the handrail. The benefit of using a gel stain over a traditional stain is that gel stains are actually just colored varnishes that sit on top of the wood, whereas traditional stains soak into the wood. Poplar, which our bannister is made of, is notorious for accepting stain poorly, resulting in a splotchy look. Because gel stain just sits on top, though, it allows you to achieve a much more consistent color over woods that usually stain poorly.
The clerk recommended using the General Finishes Georgian Cherry gel stain. This stain matches the darker parts of our floor very well - too well, in fact. Our refinished treads are a little oranger than our floors and, because of that, the Georgian Cherry gel stain matches the old floors but doesn’t quite match the new treads.
Here’s a sample board that I stained with the Georgian Cherry stain with a backdrop of our stair treads. The left side of the board received one coat of gel stain and the right side two.
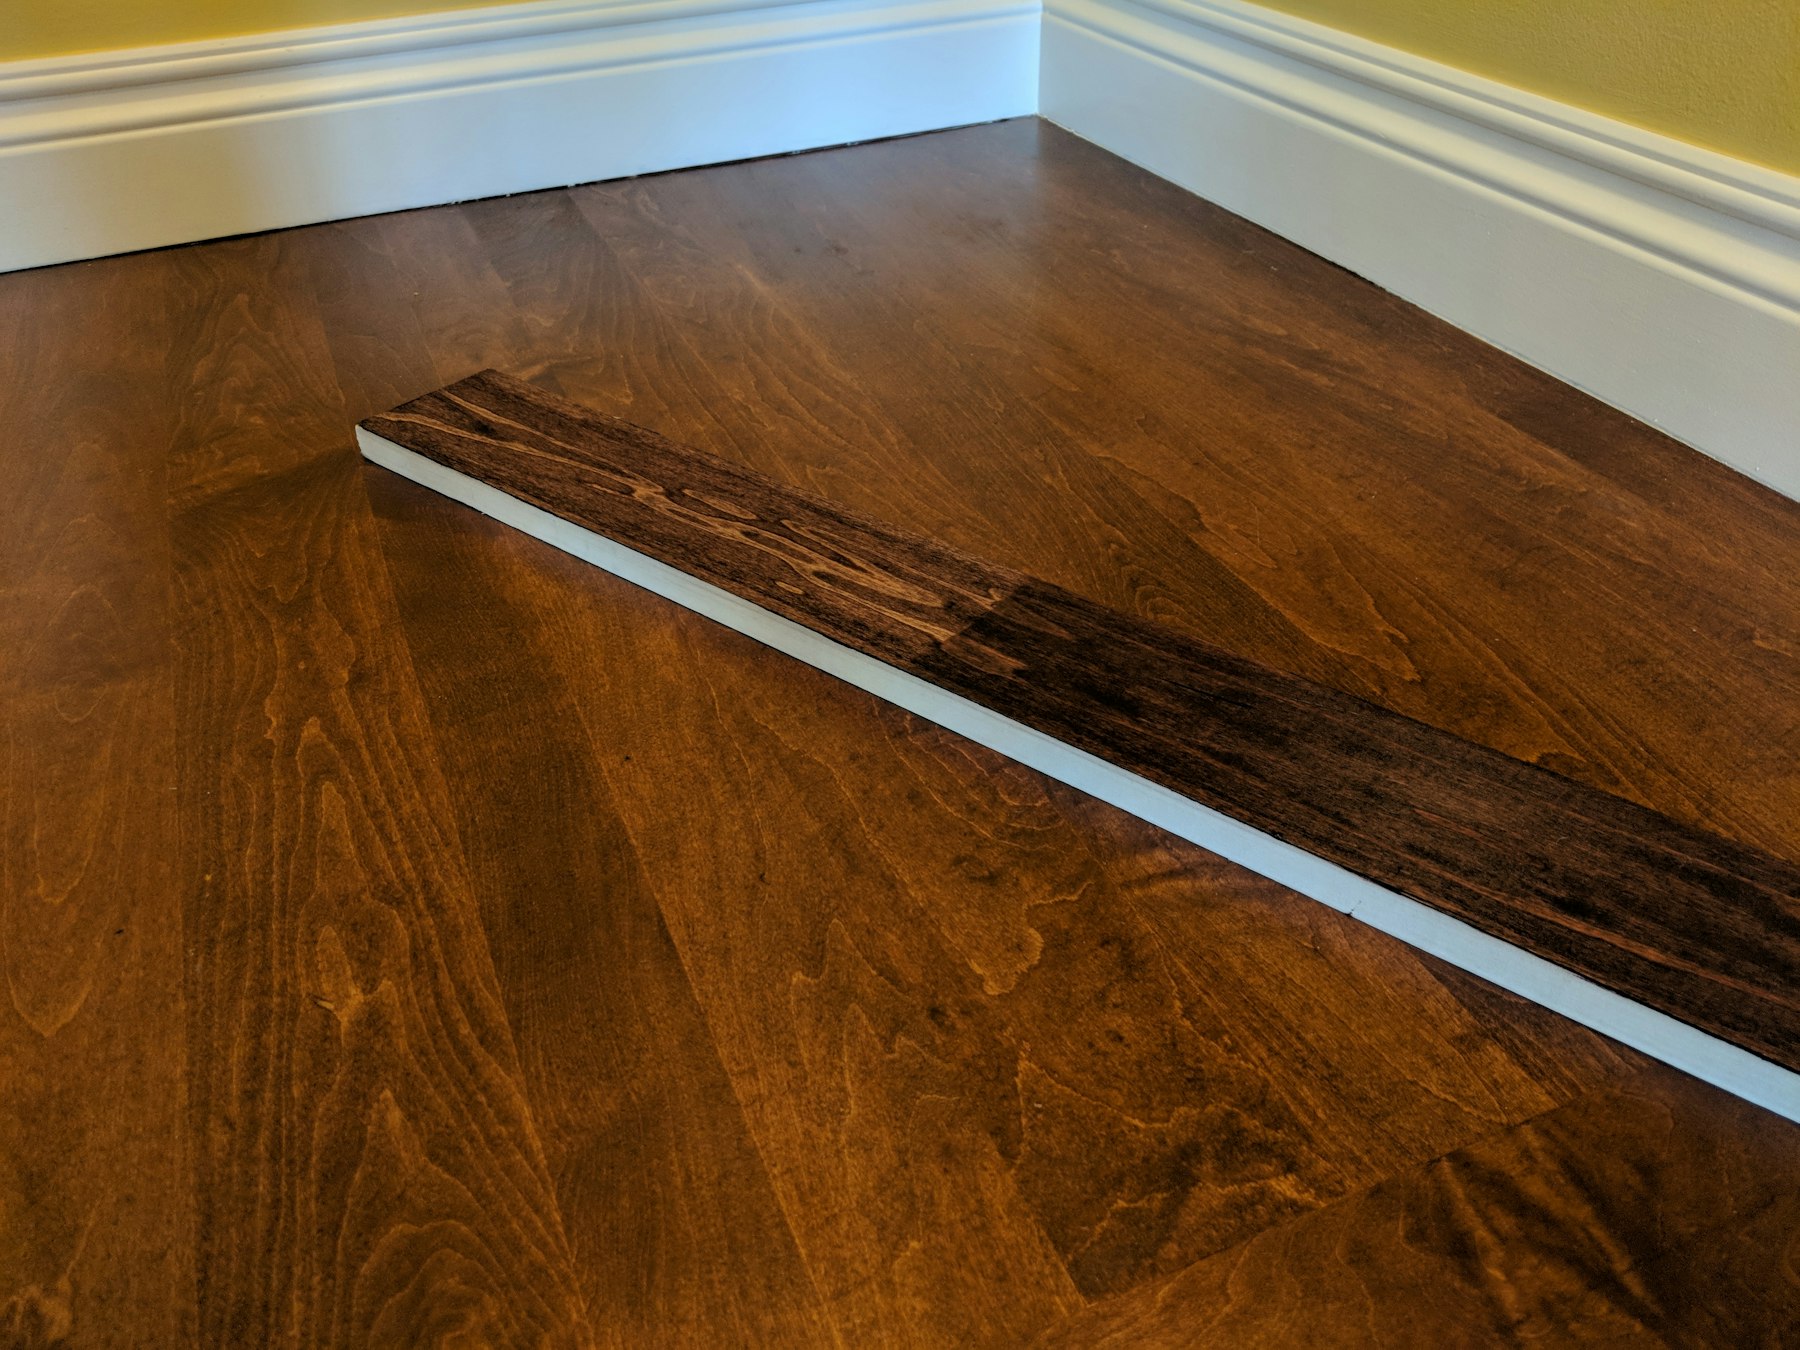
You can also see that there’s a lot of variation in color on the side with one coat. I suspect that’s because I was a little stingy with the pre-stain wood conditioner that’s supposed to make the wood less porous, giving a more even finish.
To better match the color of the wood, I also picked up some mahogany gel stain which is a little oranger. I read online that you can mix gel stain colors and I tried a few different ratios of Georgian Cherry to Mahogany to find which matches best.
However, none of them looked right.
Refusing to accept defeat, I went to Home Depot and picked up two new gel stains: Minwax Cherrywood and Minwax Mahogany. I created a new poplar sample piece where I used the Minwax Cherrywood for most of the first coats and tried various other stains for the second coat.
This gave me this sample piece:
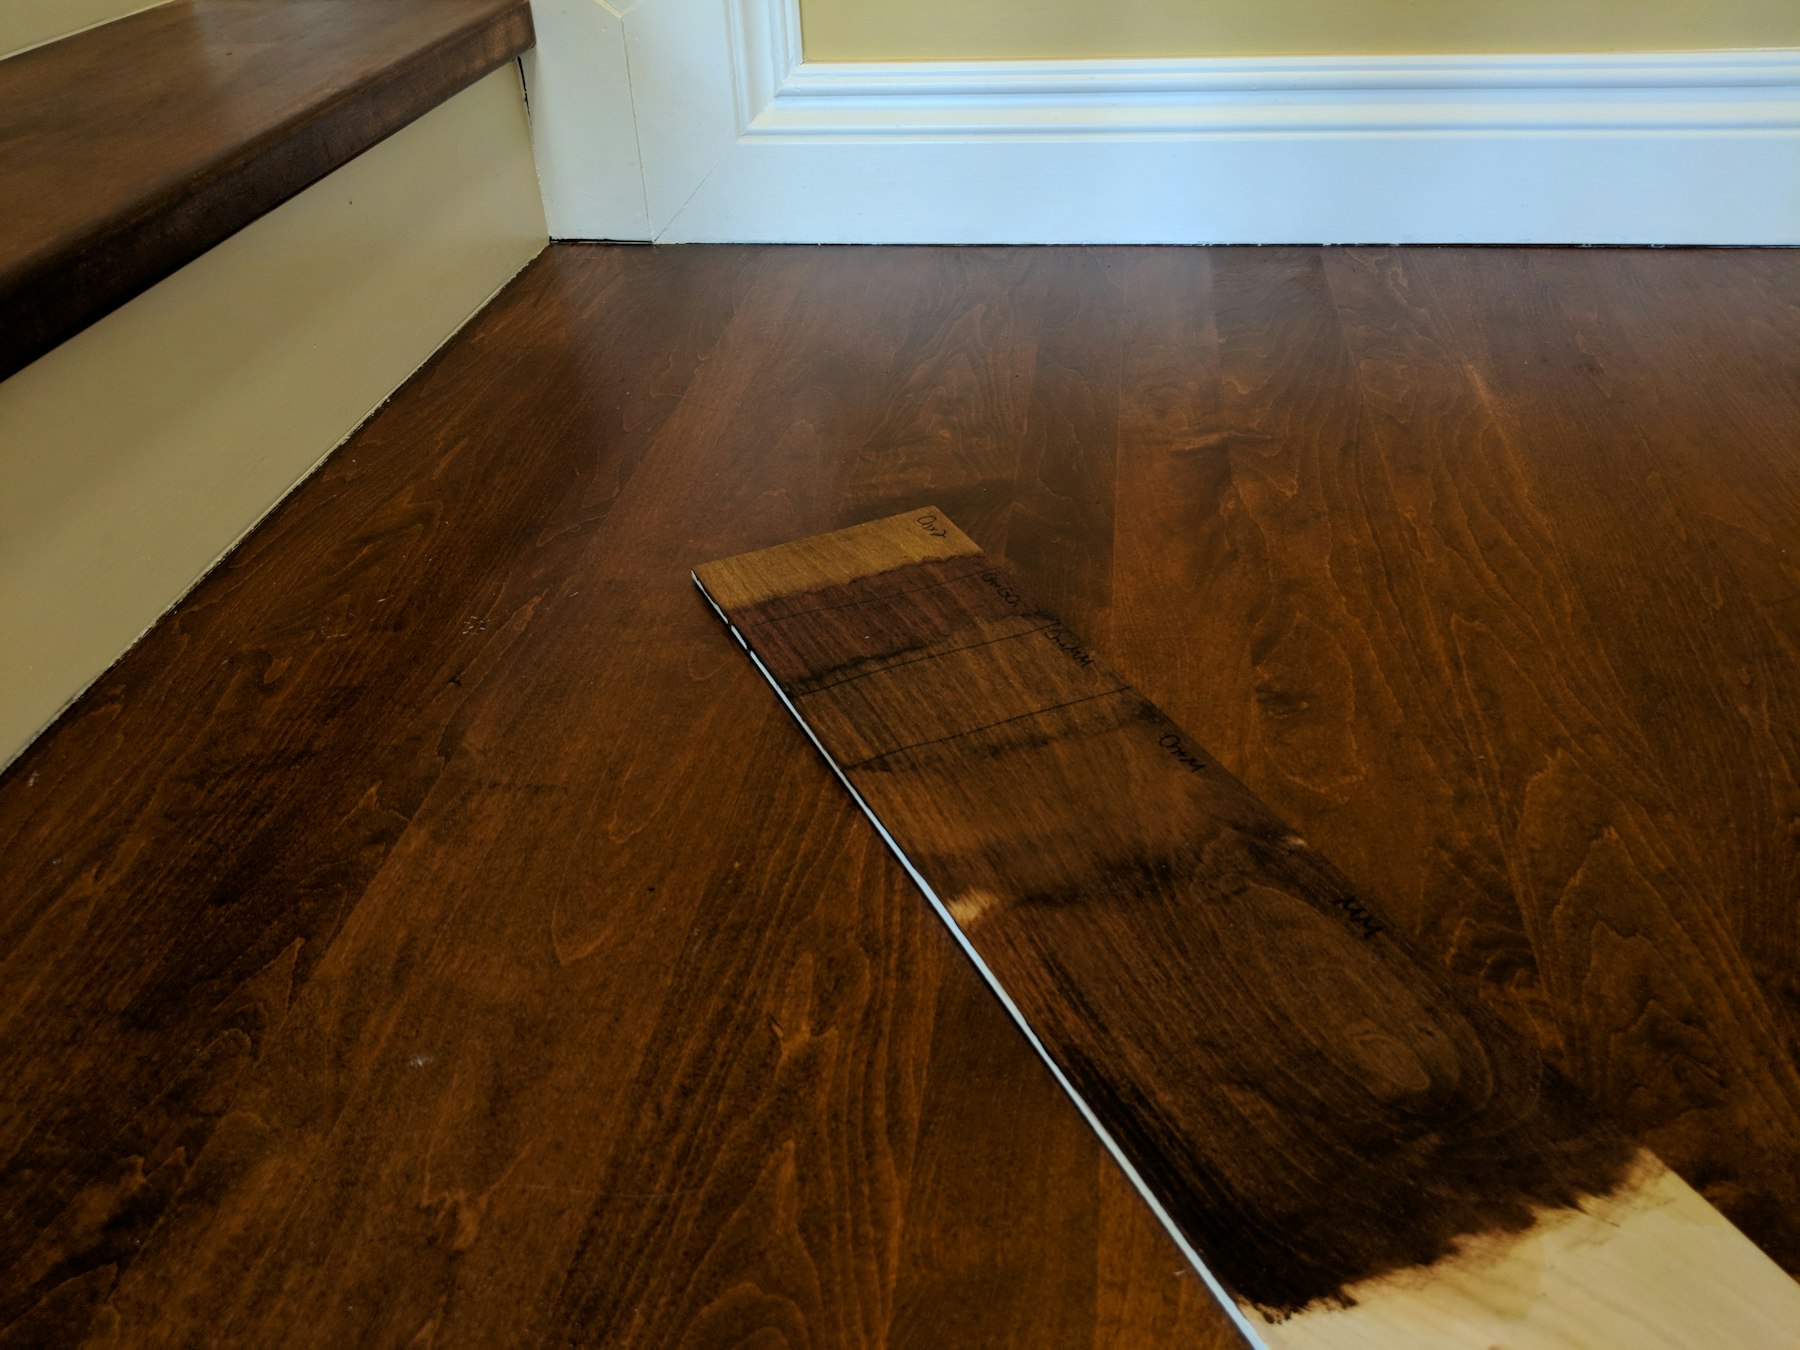
It’s a little hard to see here, but there are five different sections with different stain combinations. From farthest to closest, they are:
- Minwax Cherrywood for both coats
- Minwax Cherrywood first coat, General Finishes Georgian Cherry second coat
- Minwax Cherrywood first coat, Minwax Mahogany second coat
- Minwax Cherrywood first coat, General Finishes Mahogany second coat
- Minwax Mahogany for both coats
I think either 3) or 4) are close enough matches, but I ultimately chose 3) as the closest match because I thought the light cherry undertones peeked through a little more with the Minwax Mahogany than the General Finishes mahogany, which matched the stair treads slightly better.
So I finally have my color! Time to move forward with doing some real work. In the next installment, I’ll prep and stain the railing.